


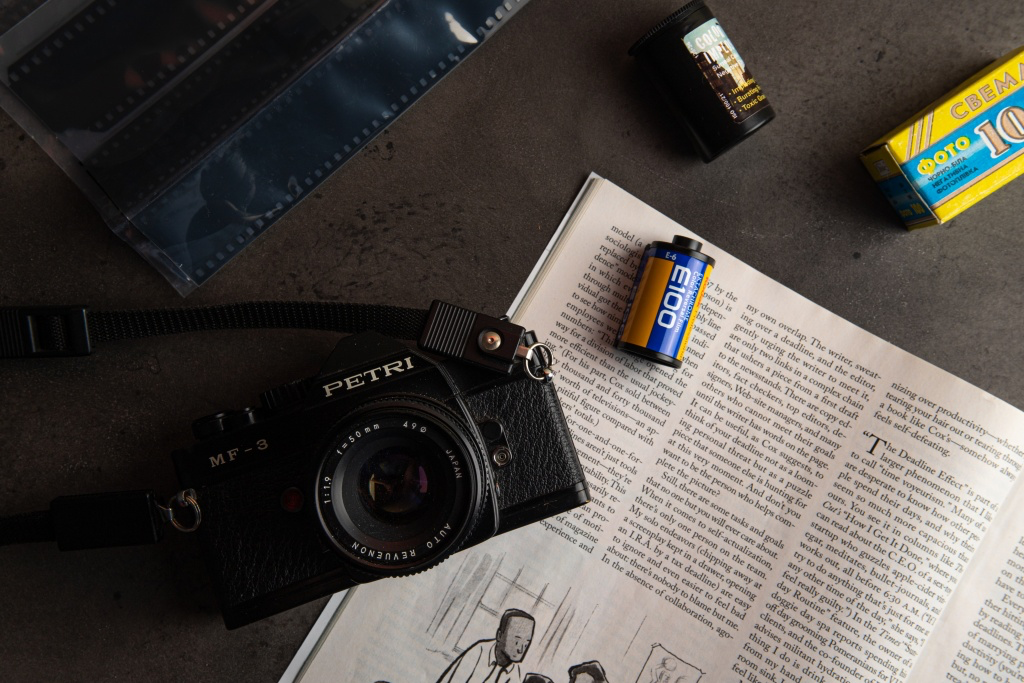
When shooting on film, you have probably encountered the fact that one frame is superimposed on another. Sometimes this happens because of a camera malfunction, but more often it happens in cameras where the shutter and the film rewind are not interlocked. Maybe you simply forgot to rewind the film. It happens all the time! However, you must agree that the effect of overlapping frames can be very impressive. The result is sometimes surprising, and you'll want to take similar pictures again. So how do you do it right? This article will answer that question for you.
But first things first. Multiple exposure is a creative photographic technique, which consists in superimposing one image on another by exposing the same area of the film (frame) repeatedly. The subjects being shot may be in different locations and captured at different moments in time. Thus, the multiple exposure technique often allows you to combine completely different subjects, places and phenomena. Multi-exposure is not a new photographic technique, it has been known since the very beginnings of photography, but has been specifically used mostly in print for scientific research (chronophotography) or to achieve the desired effect in artistic photography. Nowadays in film photography, multiple exposures of film became widely used after the Lomography movement became popular. Virtually every Lomography camera has a multiple exposure function. Curiously enough, for a very long time this creative trick was considered just incidental and wasn't taken seriously, so most professional and even amateur camera manufacturers sought to combine the shutter and rewind to eliminate the possibility of taking two shots on the same section of film. However, in general, this chip was demanded by users, so manufacturers began to make a corresponding separate function in cameras. We will list the cameras below. For now, let's talk about the multiexposure technique.
There are two ways of doing multiple exposure. The first is not to think about it and leave it to fate. It usually suits those who have a "point-and-shoot" type camera as a tool. Here, if you have a special feature, the camera does everything for you. You just think of the subjects and how to combine them into a good image. And there's a special magic in it: the results are always unpredictable. The second is a bit of fiddling with the settings. It's great for those who want a more elaborate result, or for those who have to make something up, because they own, for example, a mechanical camera without a special MX function (so multi-exposure is usually marked on the camera body or display).
What do you need to know if you decide to shoot with this technique? First: double exposures are the best, so the technique is often referred to simply as "double exposure". Double exposure is easier to think through and produces a more comprehensible result because it allows you to distinguish details in the shot. Secondly, it is important to keep the highlights and darker parts of the image aligned so that the lighter parts of the image overlap the darker parts of the image. This is so that the superimposed image will "show up" more clearly. Remember that the highlights in the first frame will disappear when you take the second frame on top. Third, you can't just shoot without adjusting the settings. Since you expose the same frame twice on film, the photographic material will light up more easily. So when you overlay one image on top of another, both images need to be underexposed by 1 step. That is, as if you originally intentionally wanted to get a darker picture. In general, most modern negative black and white and color films have sufficient photographic latitude to forgive exposure errors, but it doesn't hurt to overexpose.
A few more great tips for successful double exposures:
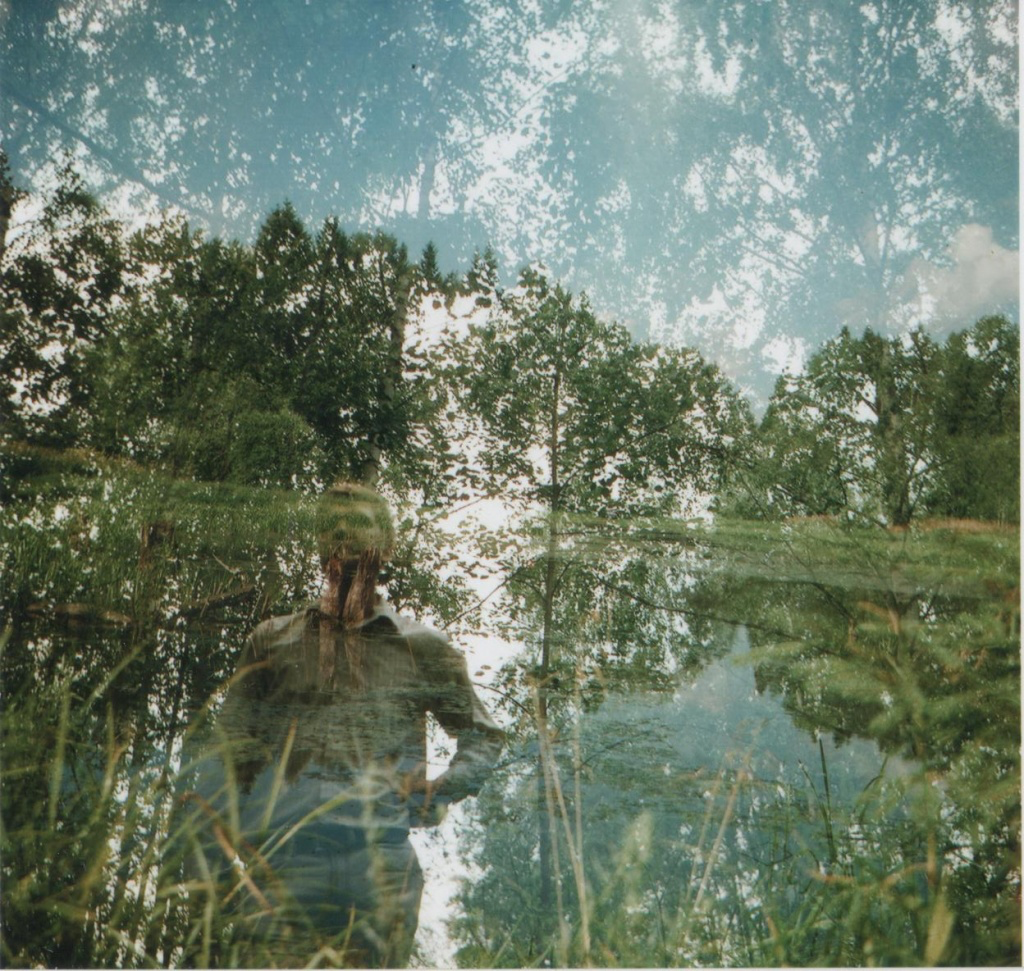
1) You can combine a shot with a lot of detail (a tree shot in summer, for example) and a subject photographed close-up - a close-up portrait, a macro, just an object.
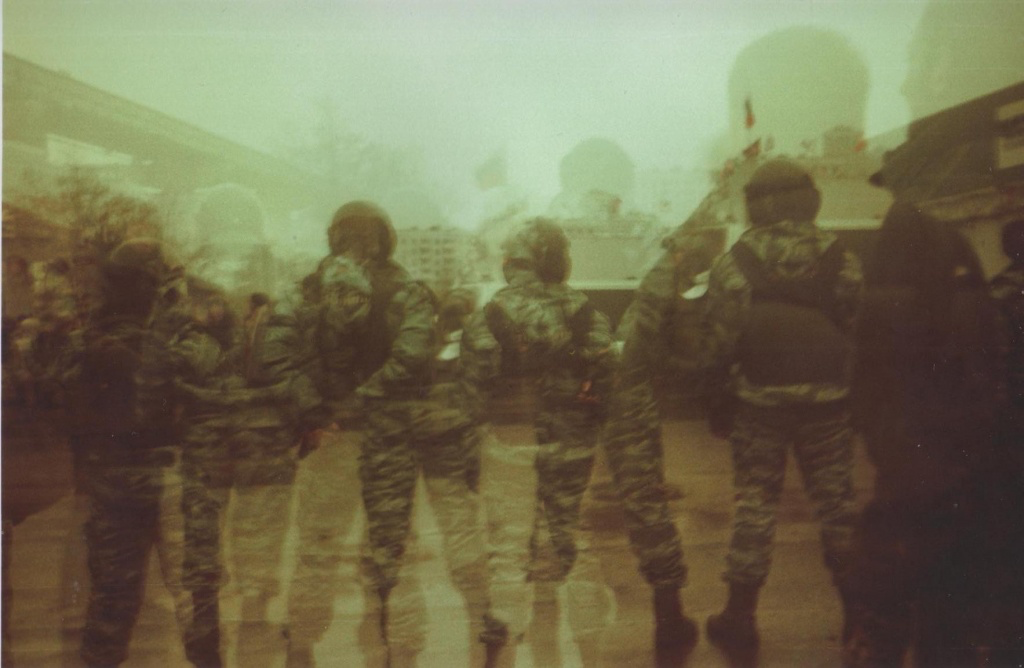
2) Combine well simple things like water, sky, some large texture, where there is not a lot of detail, and the image like a cityscape, where there are many objects.
3) Multi-exposures are best when you have simple objects with well outlined contours, sharp and contrasty, like a human silhouette for example.
As we wrote above, there are cameras that already have a multiple exposure function. Among DSLRs, these include the entire Nikon FM series, Nikon F3, Nikon F4, Nikon F801, NikonN90/N90s, for example. Canon cameras are the Canon EOS 1, Canon EOS Elan 7(30), Canon AE-1 models. Other film cameras with multi-exposure capabilities are Konica T3 / T3n / T4; Minolta XD/ XE-1 / XE-7; Contax 139 / 159MM . The most famous Soviet cameras are the medium-format Lubitel and, of course, the Smena 8. Multi-exposure is possible on all the Smenas except the Symbol Smenas, Smenas 19 / 20.
The list of compact cameras is as follows:
- Samsung zoom 145 / 105 / 800,
- Samsung ECX 1,
- Leica Minilux, Leica Minilux Zoom,
- Ricoh FF9 / RZ 750
- Rollei Prego 90 / x70 Zoom / Prego Zoom
- Fuji Zoom Cardia Super
- Konica Hexar Silver
- Konica AirBORG / z-up 80
- Pentax Zoom 105 / Zoom 280p / 928
You can also do multiple exposures with medium-format cameras such as Kiev 88 or Hasselblad. You can do it this way: take the back frame off the camera, take off the mirror, then put the back frame back on.
The Lomography cameras all have the ability to do double exposures. Either this is done in the camera as a separate setting, or you can just leave the frame untransformed and take as many shots as you want.
What if your camera doesn't have a multiple exposure function?
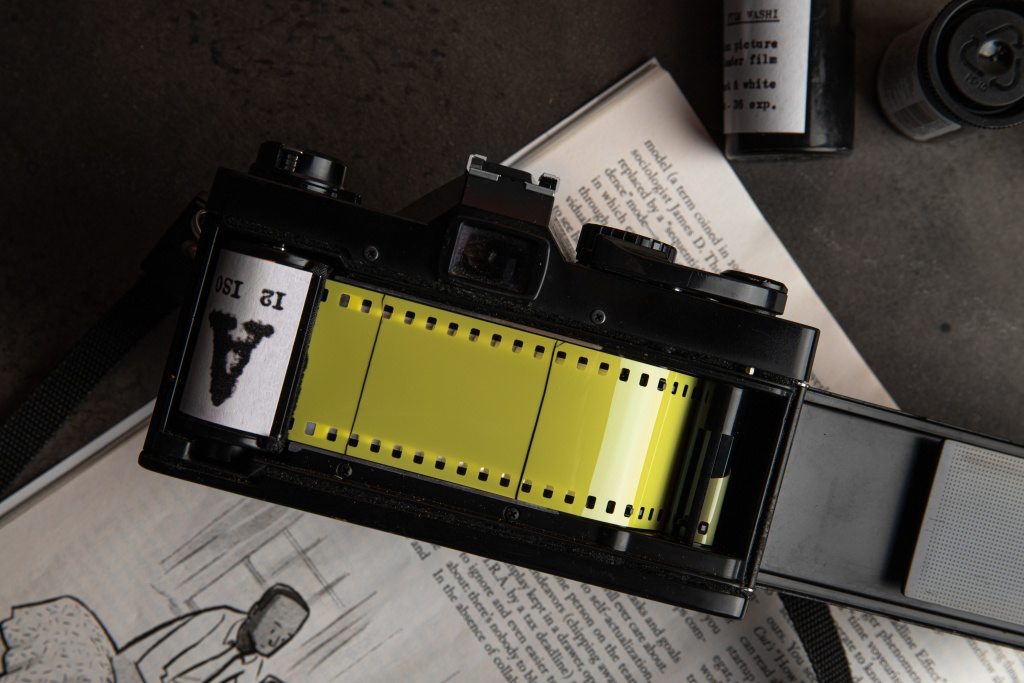
There are two options here. First, you can take a picture and rewind the film. But this is a risky method because the framing distance will be compromised, and the frames will jump around in the film. In other words, it will be difficult to get the frame into the frame. The second option: before shooting the film for the first time you need to mark the frame boundaries on the film as shown in the photo below. To do this, it is better to take a thin marker, for example: something that will not rub off. This is how you fix the frame boundaries and the distance between shots. The downside of recharging and exposing the film is that you may not remember what was in the first shot. But this is where your phone can come in handy, where you can duplicate what you are shooting.
As you can see, doing multiple exposures isn't that hard, and it won't take long to get interesting results. Experiment and tag us in your Instagram posts.
(30), Canon AE-1 models. Other film cameras with the voz


